What is Spring Boot?
Spring boot allows developers to create production-ready Spring-based Java applications with minimal Spring configurations. With Spring boot you can concentrate more on the business logic and less on infrastructure.
In this article you will get the answers to three questions: What is Spring Boot? Why Spring Boot? and How can I start with Spring Boot?
Why Spring Boot?
The main objective of Spring Boot is to reduce Development and Unit Testing time and make it easy to develop Enterprise-ready Java Applications very quickly compared to existing Spring Framework. Spring Framework has already provided great tools for developers to make their life easy with Java Enterprise Applications. But when it comes to applications’ configuration and dependency management, it takes more time for developers to do those with XML configurations and some other stuffs which is not related to coding the business logic itself.
Spring Boot provides some default configurations and setups to avoid some boring development steps and boilerplate coding.
How to start Production-ready Spring boot application with ‘no time’?
Noverdays we don’t need to create initial structure of our project. Spring Starter manages all of them for us.
Step 1 – Starting the project
Go to start.spring.io. It is a web application that generates Spring Boot project for us.
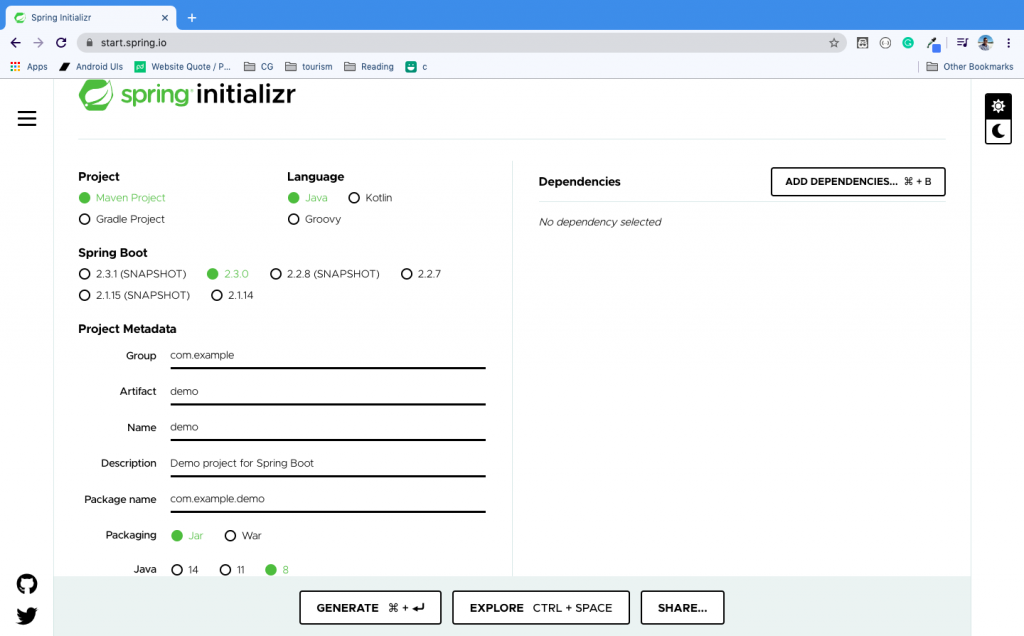
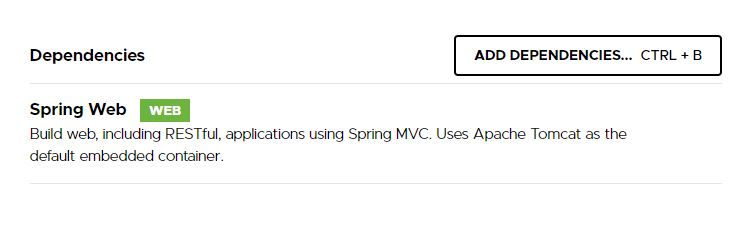
You can select Language, Spring Boot Version, the Language version, Project type as well as you can configure project name, artifact name, packaging(.jar or .war), and other project-related things here. Also the dependencies you need. In this example I have only selected Spring Web dependency.
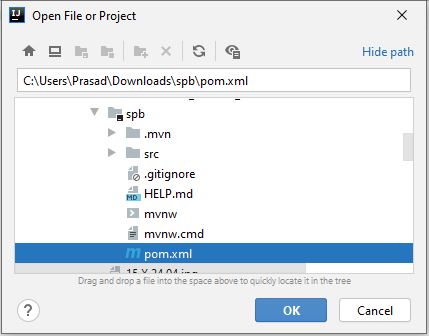
Then click generate, it will download the complete Spring Boot project. You have to unzip it and open it using your favorite Java editor. I’m using Intellij IDEA Community Edition. Import project now. You just need to navigate to .pom file and click ok and select open as a project. (Here I’m using Maven)
Project structure will look like this.
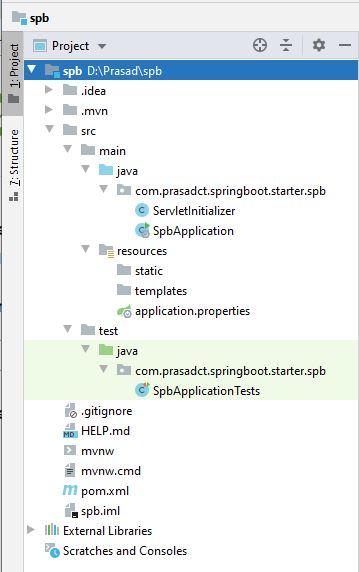
Like you can see above, Spring Boot Starter has generated all the things that we need to getting started with a new Spring project. If you open the .pom file you can see that it has included the dependencies that we have requested while generating the project.
<?xml version="1.0" encoding="UTF-8"?>
<project xmlns="http://maven.apache.org/POM/4.0.0" xmlns:xsi="http://www.w3.org/2001/XMLSchema-instance"
	xsi:schemaLocation="http://maven.apache.org/POM/4.0.0 https://maven.apache.org/xsd/maven-4.0.0.xsd">
	<modelVersion>4.0.0</modelVersion>
	<parent>
		<groupId>org.springframework.boot</groupId>
		<artifactId>spring-boot-starter-parent</artifactId>
		<version>2.3.0.RELEASE</version>
		<relativePath/> <!-- lookup parent from repository -->
	</parent>
	<groupId>com.prasadct.springboot.starter</groupId>
	<artifactId>spb</artifactId>
	<version>0.0.1-SNAPSHOT</version>
	<packaging>war</packaging>
	<name>spb</name>
	<description>Demo project for Spring Boot</description>

	<properties>
		<java.version>1.8</java.version>
	</properties>

	<dependencies>
		<dependency>
			<groupId>org.springframework.boot</groupId>
			<artifactId>spring-boot-starter-web</artifactId>
		</dependency>

		<dependency>
			<groupId>org.springframework.boot</groupId>
			<artifactId>spring-boot-starter-tomcat</artifactId>
			<scope>provided</scope>
		</dependency>
		<dependency>
			<groupId>org.springframework.boot</groupId>
			<artifactId>spring-boot-starter-test</artifactId>
			<scope>test</scope>
			<exclusions>
				<exclusion>
					<groupId>org.junit.vintage</groupId>
					<artifactId>junit-vintage-engine</artifactId>
				</exclusion>
			</exclusions>
		</dependency>
	</dependencies>

	<build>
		<plugins>
			<plugin>
				<groupId>org.springframework.boot</groupId>
				<artifactId>spring-boot-maven-plugin</artifactId>
			</plugin>
		</plugins>
	</build>

</project>
And the Starting point of Spring Boot Application
package com.prasadct.springboot.starter.spb;

import org.springframework.boot.SpringApplication;
import org.springframework.boot.autoconfigure.SpringBootApplication;

@SpringBootApplication
public class SpbApplication {

	public static void main(String[] args) {
		SpringApplication.run(SpbApplication.class, args);
	}

}
You can just click the Run button so the downloaded application will run successfully. You do not need to download Tomcat and deploy the application. Spring Boot Applications come with embedded Tomcat so as I have said earlier you don’t need to worry about the infrastructure, just focus on the business logic coding part, Spring Boot will manage all the things for you.
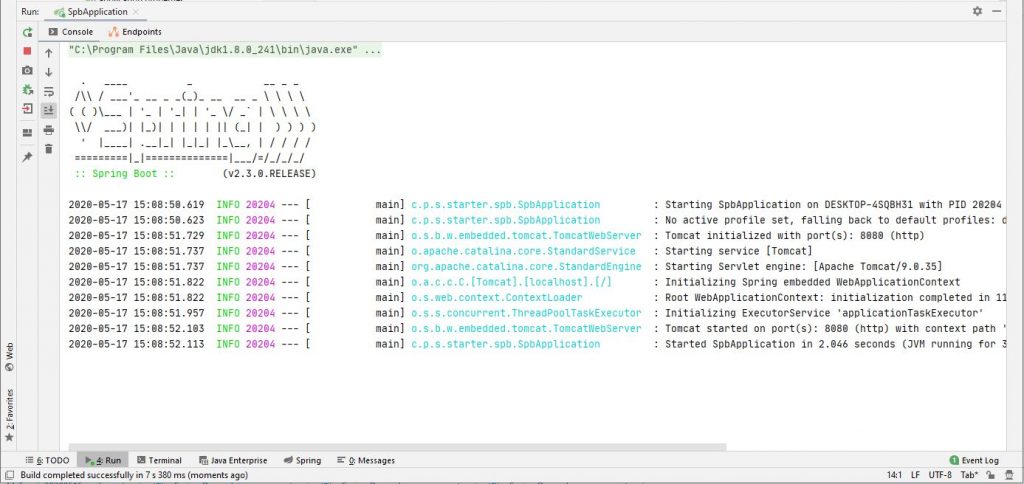
Now we know that the application we just downloaded is running without an error. We didn’t add any configuration, we didn’t deployed it to Tomcat. Spring Boot does all of that for us.
Let’s create some REST API. What we have to do is create a Java class and decorate it with some Spring’s annotations. We will have a REST API in no time. I created a package called controller and inside that package I created a Java class called HomeController. Here is the code.
package com.prasadct.spd.spd.controller;

import org.springframework.web.bind.annotation.RequestMapping;
import org.springframework.web.bind.annotation.RestController;

@RestController
public class HomeController {

    @RequestMapping("/")
    public String homeController(){
        return "Welcome Home...";
    }
}
What it does is accept a GET request and returns a String: “Welcome Home…” Just re-run the application and type localhost:8080 hit enter, you will get the response from your REST API just created. Or hit
curl localhost:8080 in your command line.
D:\>curl localhost:8080
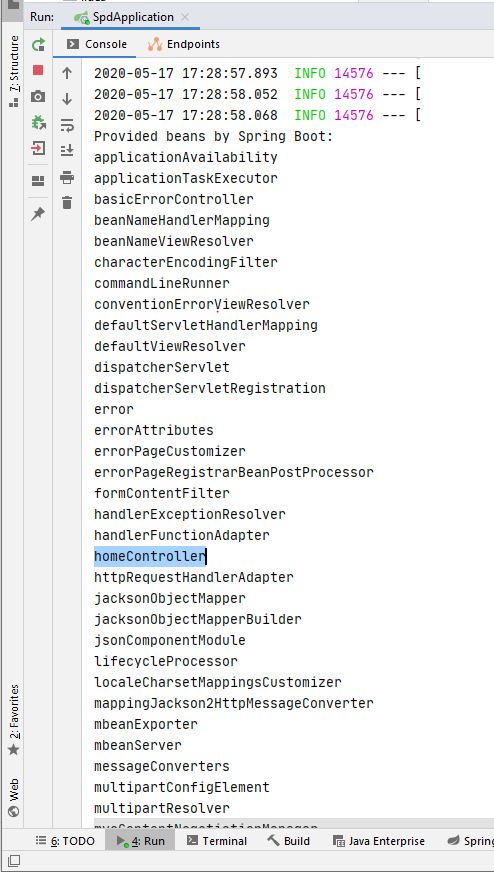
Welcome Home...Did you realize that you just only created a REST API without any configurations, setups, deployment steps, or without installing Tomcat? That’s the power of Spring Boot. Also this application is 100% Java. There is no XML file. Also what we only create is HomeController. And there are a lot of beans that Spring Boot automatically provided us to run this production-ready application. Let’s print them an see.
I have added a method to main class: SpdApplication and it will print all the beans including beans we have created and beans which Spring Boot has created.
package com.prasadct.spd.spd;

import org.springframework.boot.CommandLineRunner;
import org.springframework.boot.SpringApplication;
import org.springframework.boot.autoconfigure.SpringBootApplication;
import org.springframework.context.ApplicationContext;
import org.springframework.context.annotation.Bean;

import java.util.Arrays;

@SpringBootApplication
public class SpdApplication {

	public static void main(String[] args) {
		SpringApplication.run(SpdApplication.class, args);
	}

	@Bean
	public CommandLineRunner commandLineRunner(ApplicationContext context) {
		return args -> {

			System.out.println("Provided beans by Spring Boot:");

			String[] beanNames = context.getBeanDefinitionNames();
			Arrays.sort(beanNames);
			for (String beanName : beanNames) {
				System.out.println(beanName);
			}

		};
	}

}
Conclusion
We have created a simple Java web application with Spring Boot and got to know what is Spring Boot? Why it is important and How to start a Spring project with Spring Boot. This is just a begging of the journey of learning Spring Framework and keep in touch with prasadct.com for more comprehensive explanations.
One thought on “What is Spring Boot and Why it is the best way to start learning Spring Framework?”